Table of Contents

Introduction
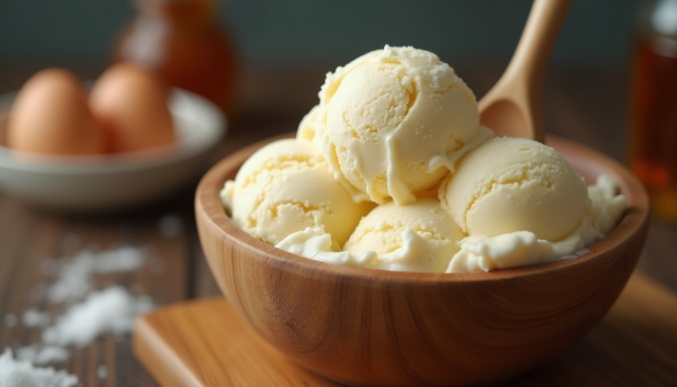
Imagine indulging in a creamy, rich ice cream without a hint of gluten – that’s exactly what this gluten-free ice cream recipe promises! Whether you have dietary restrictions or just want a delightful frozen treat, this recipe is both easy to follow and incredibly satisfying. Perfect for a sunny day, a special occasion, or just because, this homemade ice cream will be a hit with everyone. Let’s dive into making this delicious gluten-free treat!
Ingredients
Here’s what you’ll need to make your own gluten-free ice cream:
| Ingredient | Quantity | Note |
|---|---|---|
| Heavy cream | 2 cups | Use full-fat for creaminess |
| Whole milk | 1 cup | Can substitute with almond or coconut milk |
| Granulated sugar | 3/4 cup | Adjust sweetness to taste |
| Egg yolks | 4 | Provides richness and helps with texture |
| Vanilla extract | 2 teaspoons | For flavor; can use other extracts or flavorings |
| Salt | 1/4 teaspoon | Enhances flavor |
| Optional mix-ins | As desired | (e.g., chocolate chips, fruit, nuts) |
Note: Make sure all your ingredients are gluten-free. Check labels to ensure no hidden gluten.
Kitchen Equipment Needed
To make this gluten-free ice cream, you’ll need:
- Ice cream maker (for best results)
- Medium saucepan
- Whisk
- Mixing bowls
- Fine-mesh strainer
- Spatula
- Ice cream container or a similar freezer-safe container
Instructions
Follow these easy steps to make your delicious gluten-free ice cream:
- Prepare the Base
- In a medium saucepan, combine the heavy cream and whole milk. Heat over medium heat until just beginning to simmer. Do not let it boil.
- Mix Egg Yolks and Sugar
- In a mixing bowl, whisk together the egg yolks and granulated sugar until smooth and pale.
- Temper the Eggs
- Slowly pour a small amount of the hot cream mixture into the egg yolk mixture, whisking constantly to temper the eggs. This helps prevent them from curdling.
- Combine and Cook
- Pour the egg yolk mixture back into the saucepan with the remaining cream mixture. Cook over low heat, stirring constantly with a spatula until the mixture thickens and coats the back of the spatula (about 8-10 minutes).
- Strain and Chill
- Remove from heat and strain the mixture through a fine-mesh strainer into a clean bowl to remove any curdled bits. Stir in the vanilla extract and salt. Let the mixture cool to room temperature, then refrigerate for at least 4 hours or overnight.
- Churn the Ice Cream
- Pour the chilled mixture into your ice cream maker and churn according to the manufacturer’s instructions. This usually takes about 20-25 minutes.
- Freeze to Firm Up
- Transfer the churned ice cream to a freezer-safe container. Freeze for at least 2 hours to harden before serving.
Tips and Tricks
- Chilling the Base: Ensure your base is thoroughly chilled before churning. This helps achieve a smoother texture.
- Avoid Ice Crystals: If you don’t have an ice cream maker, pour the mixture into a freezer-safe container and stir every 30 minutes for the first 2-3 hours to minimize ice crystals.
- Flavor Variations: Add mix-ins during the last 5 minutes of churning for a fun twist. Chocolate chips, fruit, and nuts work great.
Serving Suggestions
- Classic Scoop: Serve your gluten-free ice cream in a cone or bowl with a drizzle of chocolate or caramel sauce.
- Ice Cream Sandwich: Use gluten-free cookies to make ice cream sandwiches. They’re a fun and delicious treat!
- Affogato: Pour a shot of hot espresso over a scoop of ice cream for a delightful coffee-flavored dessert.
Nutritional Information (Optional)
Note: Nutritional values are approximate and based on standard ingredients.
- Serving Size: 1/2 cup
- Calories: 250
- Fat: 20 grams
- Carbohydrates: 20 grams
- Protein: 4 grams
Variations
- Chocolate Ice Cream: Add 1/2 cup of cocoa powder to the mixture for a rich chocolate flavor.
- Fruit Flavors: Blend in 1 cup of fresh fruit or fruit puree before churning for fruity variations like strawberry or mango.
- Mint Chocolate Chip: Add a few drops of mint extract and chocolate chips for a refreshing minty treat.
Conclusion
Making your own gluten-free ice cream at home is a rewarding experience that results in a delicious and creamy treat free of gluten. With simple ingredients and easy steps, you can enjoy a custom ice cream flavor that’s perfect for any occasion. Whether you’re treating yourself on a hot day or serving it at a family gathering, this gluten-free ice cream is sure to impress.
FAQ Section
Q: Can I use a dairy-free milk alternative?
A: Yes, you can substitute almond milk, coconut milk, or any other dairy-free milk. The texture may vary slightly.
Q: How long can I store homemade ice cream?
A: Homemade ice cream can be stored in a freezer-safe container for up to 2 weeks. For the best texture, consume within a week.
Q: Can I make this recipe without an ice cream maker?
A: Yes, you can. Pour the mixture into a freezer-safe container and stir every 30 minutes for the first 2-3 hours to reduce ice crystals.
What Do You Think?
Have you tried making this gluten-free ice cream? We’d love to hear about your experience! Drop a comment below and let us know how it turned out or if you added any special flavors or mix-ins. For more gluten-free recipes and tips, explore our other blog posts and subscribe to our newsletter. Enjoy your homemade treat!

